The scenario I have in mind requires an urban area to almost stretch across the board. The 17 buildings I have a hard pressed to do that, even in a threadbare manner, so I have to build more. In 2 weeks I have created 16 more buildings, some of them getting reasonably complex in construction. They are simple, effect creating, terrain items for my 6 mm wargames. I look at them ultimately as utilitarian in nature, with the aesthetic and realism modes of judgement coming behind that goal.
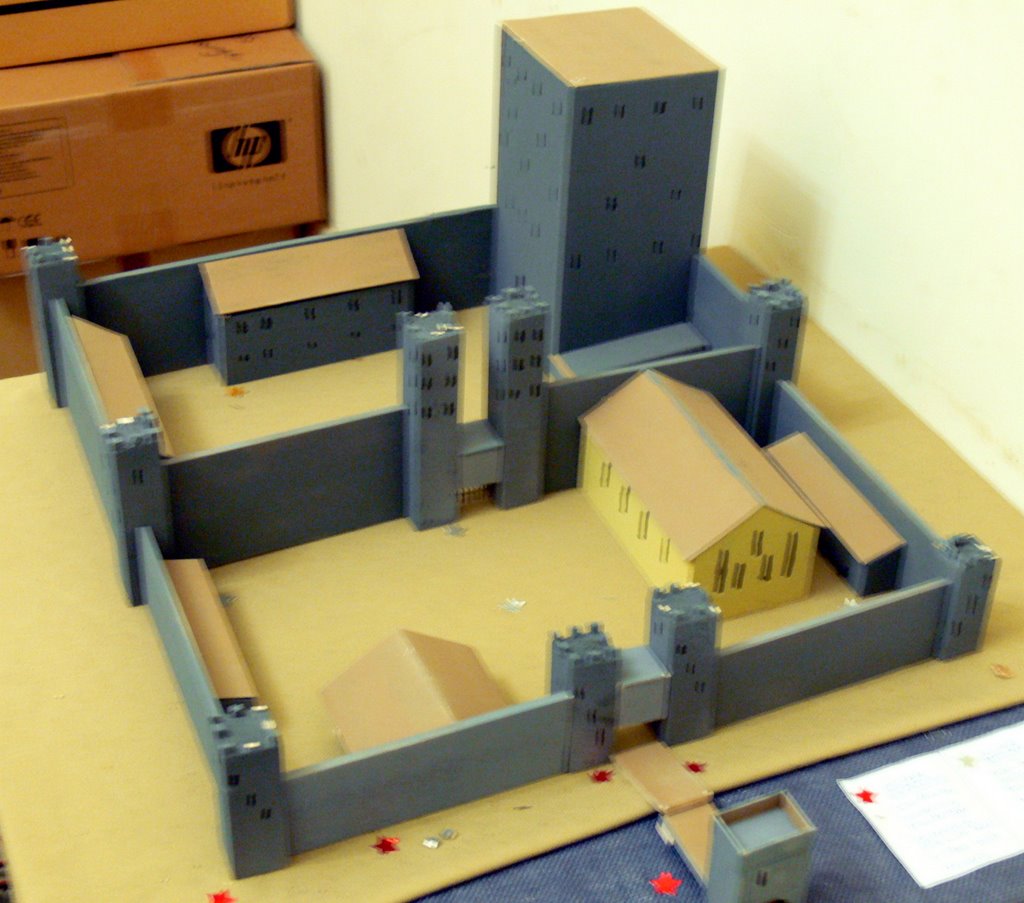
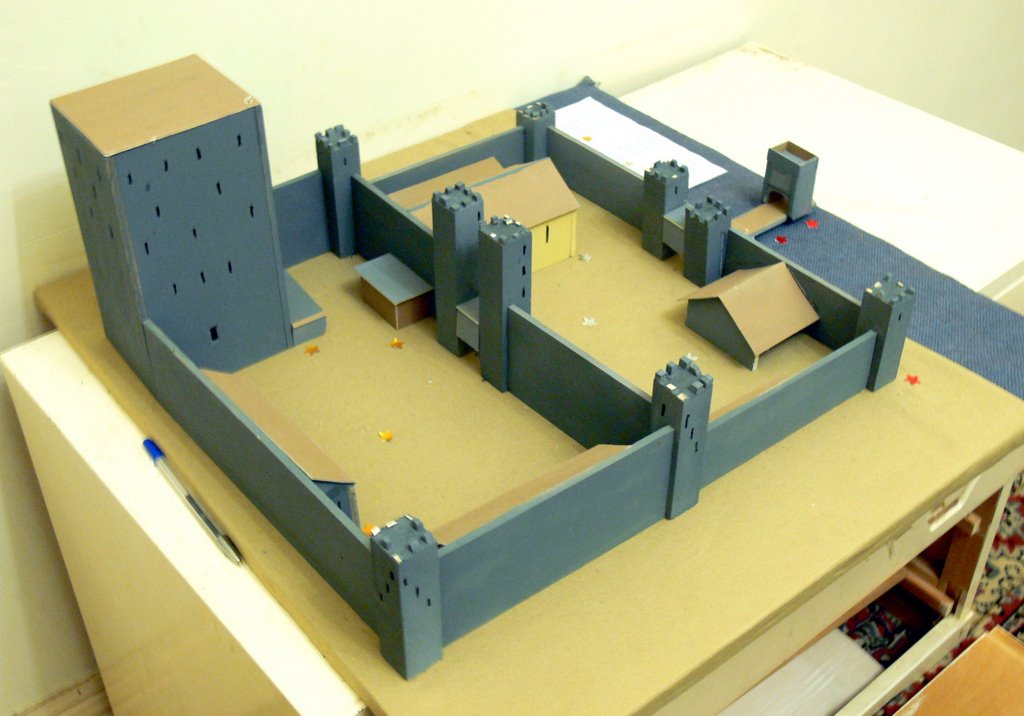
For materials I used some left over balsa (3mm) for walls, a smaller part strip of 1mm balsa for roofing. These were all leftovers from a castle I built with my daughter last year on a school project (highest mark the teacher had given in nearly thirty years!). They had already been undercoated. Apart from that I used a round edged fine cutting tool (mainly to carve out window and door recesses in the balsa), a pointy edged craft knife, ruler, pencil, cheap model glue and paints and white spirits to create my village expansion.
The buildings vary from single floor hovels to four storey apartment blocks. I have corner blocks and statley commercial and governmental buildings, and even a three level
barrio area.
I made them in groups of three or four, the main limiting factors being the shrinking dimension of roofing material to hand and the scale I was operating in. I am not however, building anything to any scale other than that that looks kind of good and that allows itself to be integrated in my game system should I change it (ie, roof lengths and widths are capable of holding either narrow or wide base frontage elements (eg. Machine guns and Infanty platoons respectively)).
Having decided on the roof section (s) to be used, I then did my imaginative work, deciding on the basic heights of the varying walls. Also, for the more complex, I had to envisage how I would finally glue it together and thus determine support walls and outside walls and the varying effect this would have on the widths and lengths of what height of wood were required. The simplest buildings used 5 pieves of wood (4 walls and a roof), the most complex used 11 pieces (corner block three level bario, 8 wall sections and 3 roof layers). The trick is to work out how one will actually assemble the pieces when done, so that then one can cut the pieces to the exact size required (rarely the actual measurements of the completed structure).
I would then mark these wall sections out on the balsa, but not cut that until the next phase of construction was done. This consisted of carving out the balsa where the doors and windows were. This is to assist later when painting them in and also creates a better 'look' for the finished product. This is the most fiddly piece of the whole procedure, as one must be careful to get the 'look' desired, combined with carved out reliefs that are neither too shallow nor to deep. I usually mark out the windows and doors with pairs of parallel cuts several millemeters apart, and create between different buildings (or facings of buildings) different 'meanings' in the facade. For example, my corner blocks often have larger commercial premises, with display windows and large entrances facing the main street, with narrow doors and small ventilation windows facing the inner courtyard area.
I then carve out the windows and doors, trying to keep within my scored markings and to make the corners and edges roughly straight as required.
Next, I cut out all of the wall and roof pieces. I may need to trim some of them to make sure they are close to the same dimension or whatever is required.
I then glue the bits together, usually creating small assemblies first and then fitting them together before placing the roof last of all.
I then painted them with a first coat of Humbro paints, a bit of white mixed into 'stone'. I then painted a second coat with a bit of 'stone' mixed into white. I then mixed up some black with thinner and, using a thin brush, 'ran' it into the carved window and door recesses. Done properly, this last step is when the buildings 'spring to life', giving the modeller a nice feeling.
The last step will be to paint all of the rooves with a mix of brick red and leather.
Their first battle will be as the township of Sesena.