
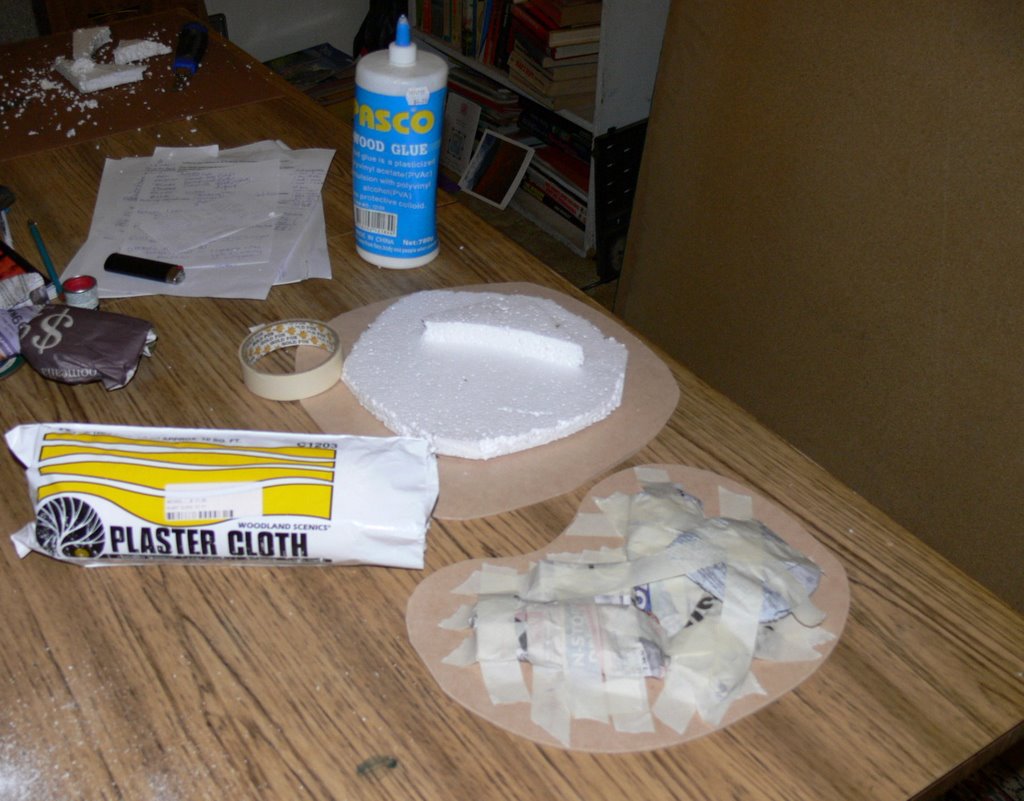
The basic idea was to build up countours with wads of paper, tape them down, cover them with plaster cloth, and then paint and decorate as appropriate. I considered using foam countours, but too messy and too angular (as you will see) ...
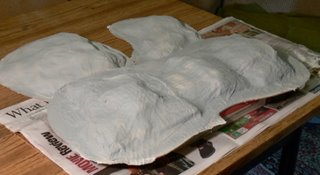
Here's a view of my terraforming a larger ridgeline (base is about 2' long and upto 1' wide) ...

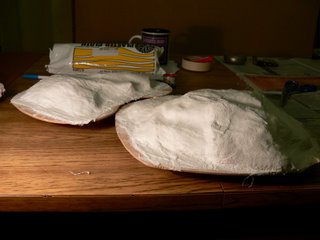
The idea is to then cut off pieces of plaster cloth, soak them in water, and drape them over the terraformed base. Here's a pretty neat photo of the two smaller bases with their plaster skin...
I then sprayed the plastered bases with Tamya primer spray...
After that had dried, I sprayed with a base colour to match my felt tabletop. In the store, Tamya 'Racing Green' looked the bill. I wasn't so sure after spraying. This shot of a small hill shows the 'two tone' effect which occurred to no noticeable pattern I could see...
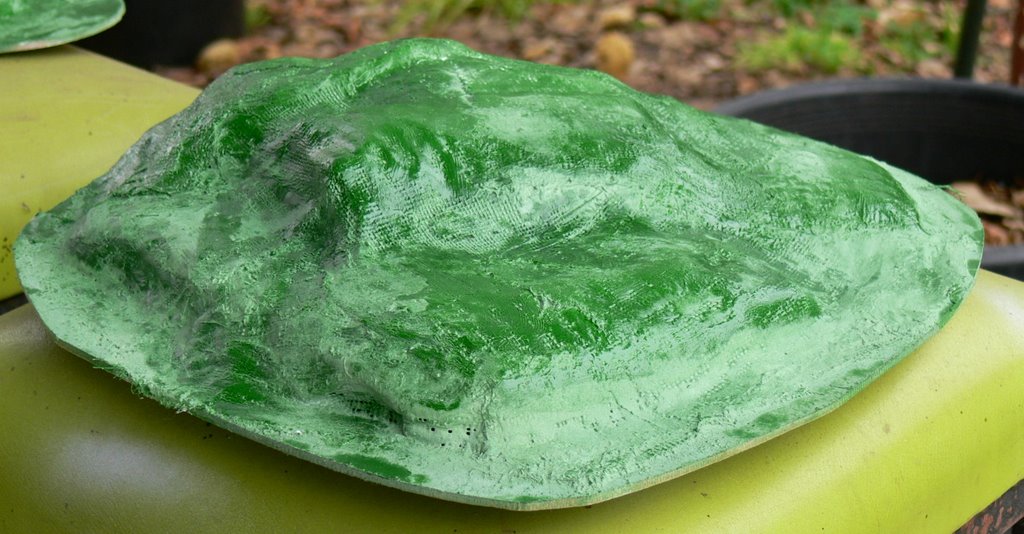
I needn't have worried. After drybrushing the surface with rich brown and pale green (Humbrol 120 and 186) and waiting for that to dry, I painted the surface with a 60/40 mix of water and white/PVA glue, covering it all with a scatter of Woodland Scenic's 'grass' flock. Looks good ...
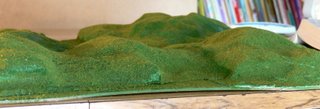
I don't think I'll do it the same way in future though, at least not for the bigger sized hill. The reason? There's too much flex in a base that size for the plaster to keep its grip. You can see where it is separating on the last photo above. The smaller bases seem to be fine.
Total cost: $17 for the plaster cloth, about $2.50 for the base wood, $9 for the Green and about $5 for the undercoat, about $3 for the the flock.
Total time: about 4 hours over 5 days.
To see the whole of my gaming blog, click here.
No comments:
Post a Comment